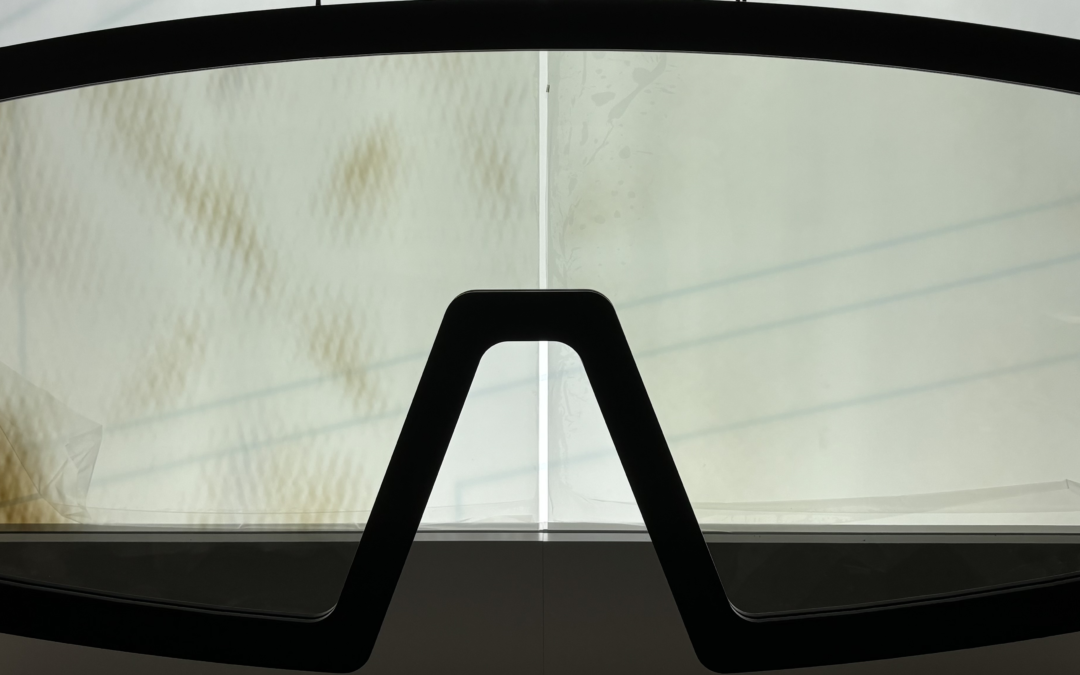
When discussing controlling anisotropy in tempered glass, especially using a tool like “Glass Inspector Temper “, we’re looking at managing the optical, mechanical, and thermal properties that vary depending on the glass’s orientation. Anisotropy in tempered glass is a result of the non-uniform distribution of residual stresses caused by the tempering process (heating and rapid cooling).
Key Concepts:
- Anisotropy in tempered glass refers to the variation of properties (like strength, stress patterns, or optical characteristics) depending on the direction or orientation within the glass.
- Glass Inspector Temper is a diagnostic tool used to assess the tempering quality of glass, measuring residual stress and optical distortions.
Controlling Anisotropy:
To reduce or control anisotropy in tempered glass, the process and post-processing steps should be fine-tuned. The goal is to achieve uniform stress distribution to avoid unintended distortions or weaknesses in specific areas. Here’s a breakdown of how this can be done:
- Optimizing Tempering Parameters:
– Heating Cycle Control: The temperature ramp-up and soak times need to be uniform. Any variations in heating can lead to uneven stresses, resulting in anisotropic properties.
– Quenching Speed: The rate at which the glass is cooled is crucial. If the cooling is not uniform across the surface and edges, it can create areas of different compressive and tensile stresses, leading to anisotropic behavior.
– Uniformity of Air Flow: When using air jets for quenching, ensuring even airflow across the glass surface is essential to maintain consistent cooling and stress distribution.
- Using Glass Inspector Temper:
– Measuring Residual Stress: Glass Inspector Temper can be used to measure the magnitude and distribution of residual stresses in the tempered glass. This information helps you understand where anisotropy may arise. By examining the stress patterns across the glass, you can identify areas that might need adjustment in the tempering process.
– Optical Distortion Assessment: This tool can also help detect any optical distortions caused by uneven stress distribution. Optical distortion is a visual manifestation of anisotropy, so controlling these distortions is crucial for quality control.
– Monitoring Glass Strength: Tempered glass’s strength varies based on the direction of the stress field. By using the tool to monitor glass strength, you can identify potential weaknesses that might arise from anisotropic stress distributions.
- Post-Tempering Treatments:
– Annealing or Stress Relaxation: If residual stresses are too high and anisotropy is undesirable, some tempered glass might undergo a controlled annealing process where it is gently reheated and then slowly cooled to relax the stresses. This can help reduce the anisotropic properties but may also reduce the overall strength.
- Design Considerations:
– Thickness and Geometry of Glass: Thicker glass or specific geometries (e.g., curved glass) can have more pronounced anisotropic behavior due to how the glass cools during tempering. Adjusting the design or the process to accommodate these factors can help manage anisotropy.
Conclusion:
Controlling anisotropy in tempered glass involves carefully managing the tempering process and using diagnostic tools like “Glass Inspector Temper” to assess residual stresses and optical distortions. By optimizing the heating, quenching, and cooling stages, you can achieve a more uniform stress distribution. Additionally, analyzing and addressing any detected distortions or weaknesses ensures the final product meets quality standards with minimal anisotropic effects.
